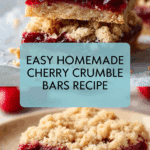
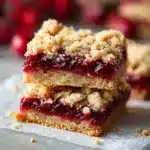
Quick Cherry Crumble Bars Recipe
There is something utterly delightful about a dessert that combines simplicity, fresh fruit, and a buttery crumb topping, and that is exactly what you get with Quick Cherry Crumble Bars. This recipe brings together a tender, golden crust layered with luscious mashed cherries, finished off with a crumbly topping that bakes to perfection. Whether you’re craving a fuss-free treat to brighten up your afternoon or looking for an irresistible crowd-pleaser, these bars deliver that perfect harmony of sweet-tart cherry flavor and buttery crunch, all wrapped up in a beautifully portable form. Quick Cherry Crumble Bars are my go-to when I want something homemade but effortless, and I can’t wait to share every step with you.

Ingredients You’ll Need
Getting started with Quick Cherry Crumble Bars is a breeze since the ingredients are straightforward yet essential to achieving the perfect balance of taste and texture. Each component plays its part in making these bars tender, flavorful, and delectably crumbly.
- Plain white flour: Creates the sturdy base and crumbly topping that holds everything together perfectly.
- Granulated sugar: Adds sweetness that complements the tartness of the cherries beautifully.
- Baking powder: Gives a slight lift to the crust so it’s tender, not dense.
- Salt: Enhances all the flavors and balances the sweetness.
- Chilled butter: Key for that crumbly texture; cold butter breaks down into perfect little pebbles.
- Egg, beaten: Binds the dough and adds richness.
- Milk: Keeps the dough moist and easy to work with.
- Fresh pitted cherries: The star ingredient, providing juicy tartness and vibrant color.
- Sugar (for filling): Sweetens the cherry layer, balancing its natural tartness.
- Cornflour (cornstarch): Thickens the cherry filling so it sets just right without being runny.
How to Make Quick Cherry Crumble Bars
Step 1: Prepare the Baking Dish
First things first, preheat your oven to 375°F. Then line an 8×8 or 9×9-inch baking dish with parchment paper, making sure to leave about a 1-inch overhang on each side for easy removal later on. Spritz the sides with nonstick spray to prevent sticking, and set the dish aside. This simple prep step saves time and keeps cleanup easy, making the whole process feel stress-free.
Step 2: Mix the Dough
In a large bowl, combine the flour, sugar, baking powder, and salt. Grate the chilled butter directly into this mix—yes, grating chilled butter really helps it distribute evenly! Using your hands, mix everything until the butter breaks down into little pebble-like bits. Next, add the beaten egg and milk, stirring just until the dough comes together into a cohesive ball that holds when pinched. This dough is the perfect base for that tender crust and crumbly topping.
Step 3: Form the Crust
Reserve about two-thirds of your dough and press it firmly and evenly into the bottom of your prepared baking dish. Use your hands to spread it out, pressing thoroughly to avoid any thin spots. This forms a sturdy but tender crust that will hold up well under the fruit filling and crumble topping.
Step 4: Prepare the Cherry Filling
In a medium bowl, mash your pitted cherries gently with a fork or potato masher until they’re broken down into small chunks. Strain the cherries through a fine mesh sieve to remove excess juice—this is a great little trick to keep the filling from getting too soggy. Stir the strained cherries back into the bowl and mix in sugar and cornstarch thoroughly until there are no lumps and everything is evenly combined. This luscious filling bursts with fresh flavor.
Step 5: Assemble and Bake
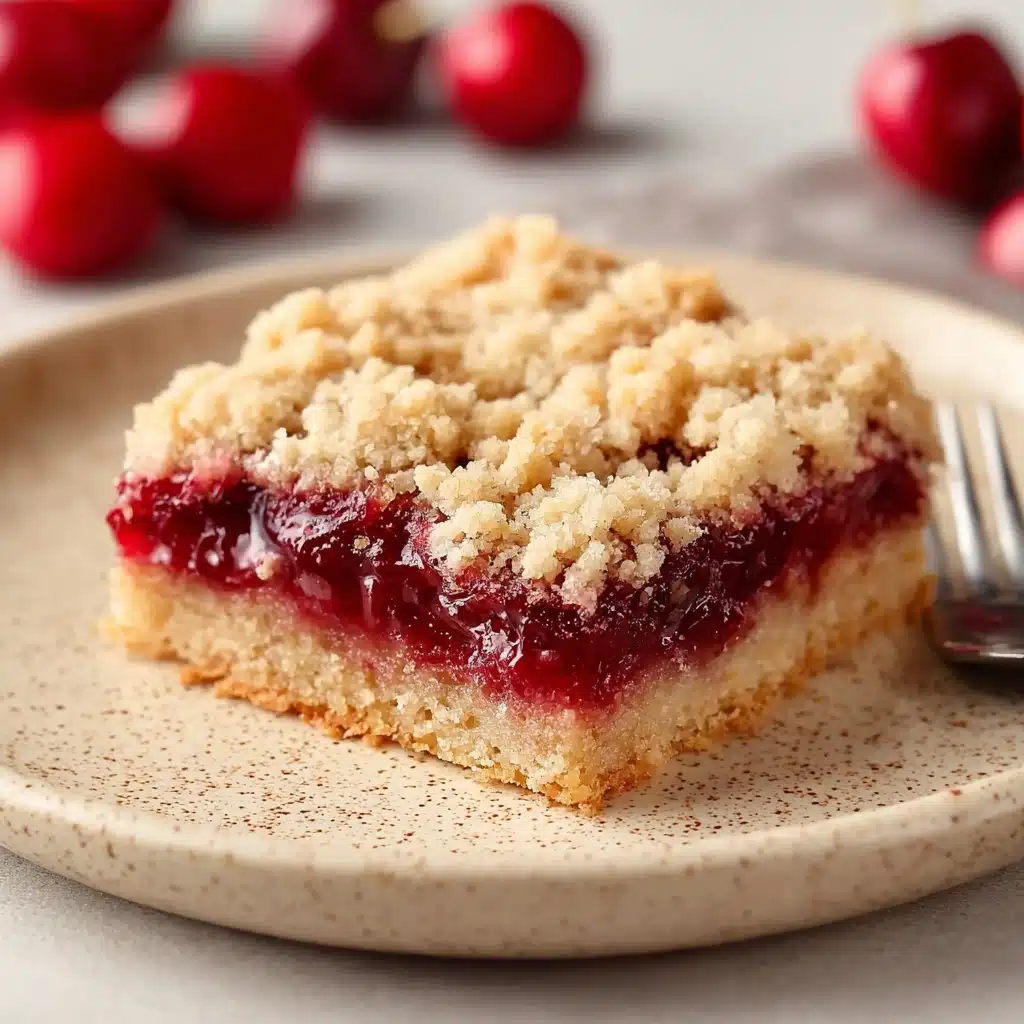
Spread your cherry filling evenly over the dough crust in the pan, making sure to cover every inch. Then crumble the remaining dough over the top to create that classic crumble texture. Pop the pan into the oven and bake for 32 to 36 minutes, or until the edges turn golden brown and the crumb topping looks perfectly baked. Your kitchen will fill with the most amazing cherry-sweet aroma by this point.
Step 6: Cool and Serve
Once out of the oven, it’s important to let your Quick Cherry Crumble Bars cool fully in the pan at room temperature, or you can speed things up by chilling them in the fridge. This cooling helps the filling set so that when you slice into bars, they hold their shape beautifully. Then slice, serve, and watch everyone’s faces light up with each bite of this homemade cherry delight.
How to Serve Quick Cherry Crumble Bars
Garnishes
Elevate your Quick Cherry Crumble Bars by adding a dollop of freshly whipped cream, a light dusting of powdered sugar, or even a scoop of vanilla ice cream. These simple garnishes add creaminess or a touch of sweetness that complements the tart cherry filling perfectly, creating a decadent treat every time.
Side Dishes
Pair these bars with a cup of hot coffee or tea for a cozy afternoon snack, or serve alongside a fresh green salad if you’re enjoying them as part of a light lunch spread. The bright cherry flavor cuts through richer side dishes amazingly well and makes the bars feel special yet approachable.
Creative Ways to Present
For gatherings, arrange the bars on a rustic wooden board surrounded by fresh cherries and sprigs of mint for a charming look. You can also cut the bars into bite-sized squares and serve them as finger desserts at parties, making them easy to enjoy without any fuss.
Make Ahead and Storage
Storing Leftovers
Quick Cherry Crumble Bars keep wonderfully in an airtight container at room temperature for up to two days. For longer storage, refrigerate them for up to a week to keep the texture fresh and the filling stable.
Freezing
If you want to prepare these bars ahead of time, they freeze beautifully. Wrap them tightly in plastic wrap and foil, then freeze for up to three months. Thaw overnight in the refrigerator before enjoying, and they’ll taste almost as fresh as the day you baked them.
Reheating
Warm leftover bars in a preheated oven at 300°F for about 10 minutes to revive that freshly baked warmth and aroma. Avoid microwaving, which might make the crumble topping lose its crispness.
FAQs
Can I use frozen cherries for this recipe?
Absolutely! Just be sure to thaw and drain them well to prevent excess moisture in the filling, which could make your bars soggy.
What can I substitute for cornflour in the filling?
If you don’t have cornflour, you can use all-purpose flour or arrowroot powder as a thickener, though cornflour gives the lightest, clearest set.
Can I make these bars gluten-free?
Yes, with a gluten-free flour blend designed for baking, you can achieve a similar texture, but be mindful that the crumb may be slightly different.
How do I know when the bars are done baking?
Look for golden edges and a lightly browned crumb topping. The cherry filling should be bubbling slightly around the edges.
Can I add other fruits besides cherries?
Definitely! Quick Cherry Crumble Bars are versatile—try mixing berries, peaches, or plums for your own twist.
Final Thoughts
If you’re after a dessert that feels like a warm embrace, Quick Cherry Crumble Bars will quickly become your favorite. With their bright, juicy cherry filling and buttery crumb topping, they strike the perfect balance between easy and impressive. I encourage you to dive in, enjoy the process, and savor every mouthwatering bite.
PrintQuick Cherry Crumble Bars Recipe
This Quick Cherry Crumble Bars recipe offers a delightful balance of buttery crust, sweet cherry filling, and crumbly topping. Perfect for a quick dessert or snack, these bars combine fresh cherries with a simple dough for an easy-to-make treat that bursts with flavor and texture. The recipe requires minimal ingredients and effort, making it ideal for both novice and experienced bakers.
- Prep Time: 15 minutes
- Cook Time: 35 minutes
- Total Time: 50 minutes
- Yield: 9 bars (3×3 grid in 9×9 pan) 1x
- Category: Dessert, Snack
- Method: Baking
- Cuisine: American
- Diet: Vegetarian
Ingredients
Dough Ingredients
- 1 3/4 cups plain white flour
- 3/4 cup granulated sugar
- 1/2 teaspoon baking powder
- 1/4 teaspoon salt
- 1/2 cup chilled butter
- 1 egg, beaten
- 2 tablespoons milk
Cherry Filling
- 2 1/4 cups cherries, pitted and fresh
- 3 tablespoons sugar
- 2 tablespoons cornflour (cornstarch)
Instructions
- Prepare the Baking Dish: Preheat your oven to 375°F. Line an 8×8 or 9×9 square baking dish with parchment paper, leaving a 1-inch overhang on each side to remove the bars easily later. Spray the sides of the dish with nonstick spray and set aside.
- Mix the Dough: In a large bowl, combine flour, sugar, baking powder, and salt. Grate the chilled butter directly into the bowl and mix with your hands until the mixture resembles small pebbles. Next, add the beaten egg and milk and stir until the dough is cohesive and holds together when pinched.
- Form the Crust: Take two-thirds of the dough mixture and press it firmly and evenly into the bottom of the prepared baking dish using your hands. Ensure the crust is spread uniformly.
- Prepare the Cherry Filling: Mash the cherries with a potato masher or fork until slightly chunky but no whole cherries remain. Strain through a fine mesh to remove excess liquid, then return to the bowl. Stir in sugar and cornflour until completely combined.
- Assemble and Bake: Spread the cherry filling evenly over the crust in the baking dish. Crumble the remaining dough over the cherry layer to create a crumbly topping. Bake in the preheated oven for 32-36 minutes, or until the edges and top are golden brown.
- Cool and Serve: Allow the bars to cool completely at room temperature, or refrigerate to speed cooling. Once cooled, use the parchment overhang to lift the bars from the pan, slice into squares, and serve.
Notes
- Use fresh, ripe cherries for the best flavor; frozen cherries can work if thawed and drained well.
- Ensure the butter is very cold before grating to achieve a crumbly texture in the dough.
- Press the crust firmly to prevent it from crumbling apart after baking.
- Straining the cherry mixture removes excess liquid, helping to prevent a soggy crust.
- Store the bars in an airtight container at room temperature for up to 2 days or in the refrigerator for up to a week.
- Optional: Sprinkle some sliced almonds or oats on top for added texture before baking.
Nutrition
- Serving Size: 1 bar (approx. 1/9 of recipe)
- Calories: 240 kcal
- Sugar: 15 g
- Sodium: 90 mg
- Fat: 11 g
- Saturated Fat: 6 g
- Unsaturated Fat: 4 g
- Trans Fat: 0 g
- Carbohydrates: 33 g
- Fiber: 2 g
- Protein: 3 g
- Cholesterol: 40 mg
Keywords: cherry crumble bars, cherry bars, fruit crumble, quick dessert, easy baking, cherry dessert