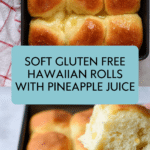
Gluten Free Hawaiian Rolls Recipe
Introduction
These gluten free Hawaiian rolls are soft, fluffy, and packed with a subtle sweetness from pineapple juice. Perfect for sandwiches or as a side, they bring a tropical twist to your baking. Even if you’re new to gluten free baking, this recipe is straightforward and rewarding.
Ingredients
- 250 ml pineapple juice
- 2 tbsp caster sugar
- 7 g dried yeast
- 10 g whole psyllium husk
- 150 ml warm water
- 400 g gluten free white bread flour
- 1 tsp xanthan gum
- 1 tsp salt
- 1 tsp apple cider vinegar
- 5 tbsp vegetable oil
- 2 large eggs
- 20 g unsalted butter
Instructions
- Step 1: Pour the pineapple juice into a bowl or jug and warm it in the microwave to about 40°C. It should feel warm to the skin but not hot. Stir in the caster sugar, then add the yeast and stir again. Cover with a tea towel and leave in a warm spot for 5-10 minutes until frothy.
- Step 2: In a separate bowl, combine the psyllium husk with the warm water. Stir well and let it sit for a couple of minutes until it forms a thick gel.
- Step 3: In a large mixing bowl, whisk together the gluten free bread flour, xanthan gum, and salt. In another bowl or mug, lightly beat the eggs, vegetable oil, and apple cider vinegar.
- Step 4: Once the yeast mixture is frothy, add it to the flour along with the egg mixture and psyllium husk gel. Using a wooden spoon, mix vigorously for 2-3 minutes to create a thick, sticky dough with no lumps. A stand mixer with a dough hook can make this easier.
- Step 5: Lightly flour your work surface with gluten free flour. Use an oiled dough scraper or spatula to scrape the dough onto the worktop—it will be sticky.
- Step 6: Shape the dough roughly into a ball, then divide it into 9 equal portions with the dough scraper. Lightly flour your hands and roll each portion gently into a smooth ball, adding minimal extra flour.
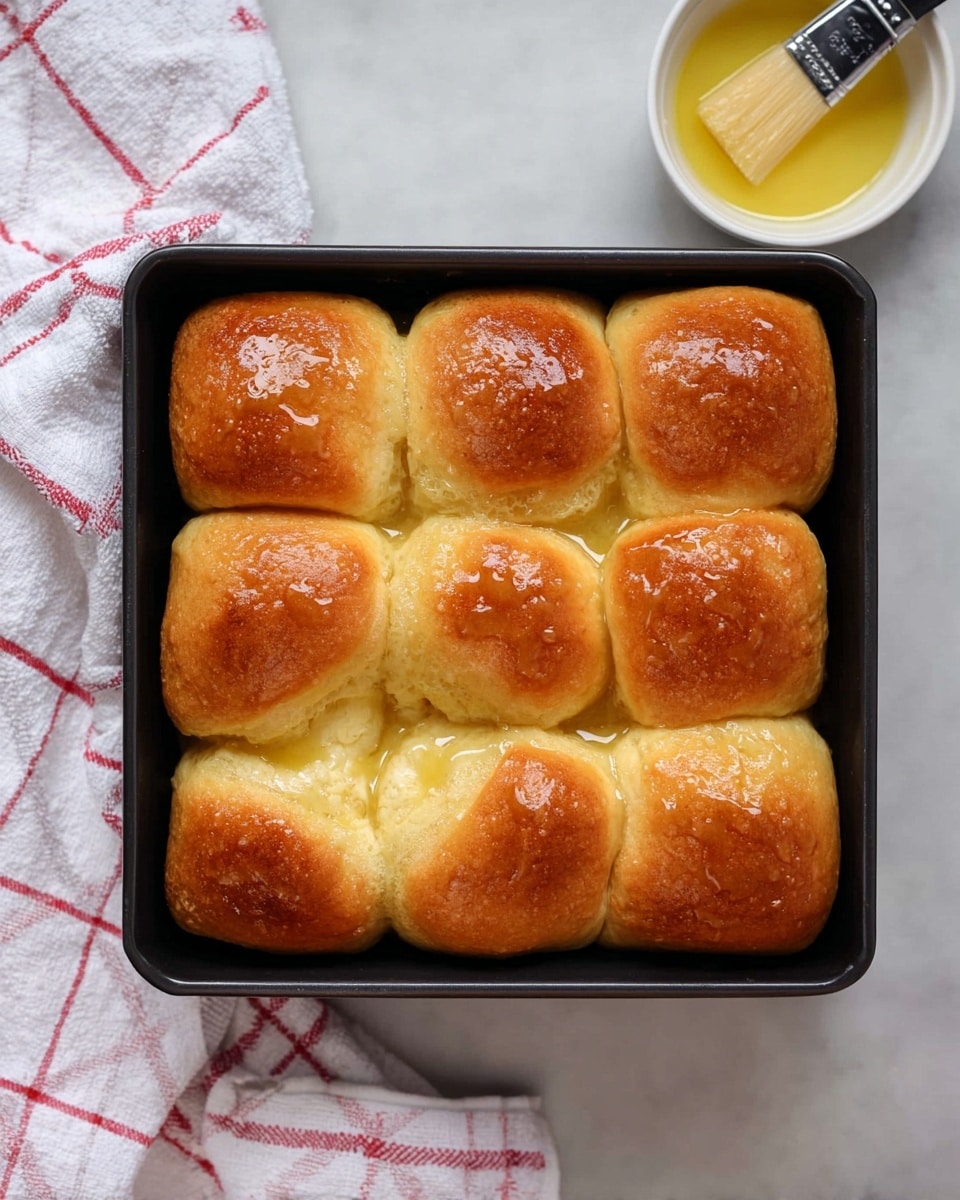
- Step 7: Lightly oil an 8-inch (20 cm) square cake tin. Arrange the dough balls in three rows of three, leaving a little space between each. Cover loosely with oiled clingfilm and a tea towel, then let rise in a warm, draft-free place for 40-60 minutes until doubled in size.
- Step 8: Preheat the oven to 200°C (fan 180°C, Gas Mark 6). Remove the clingfilm and brush the rolls with melted butter. Bake for 25-30 minutes until golden brown on top.
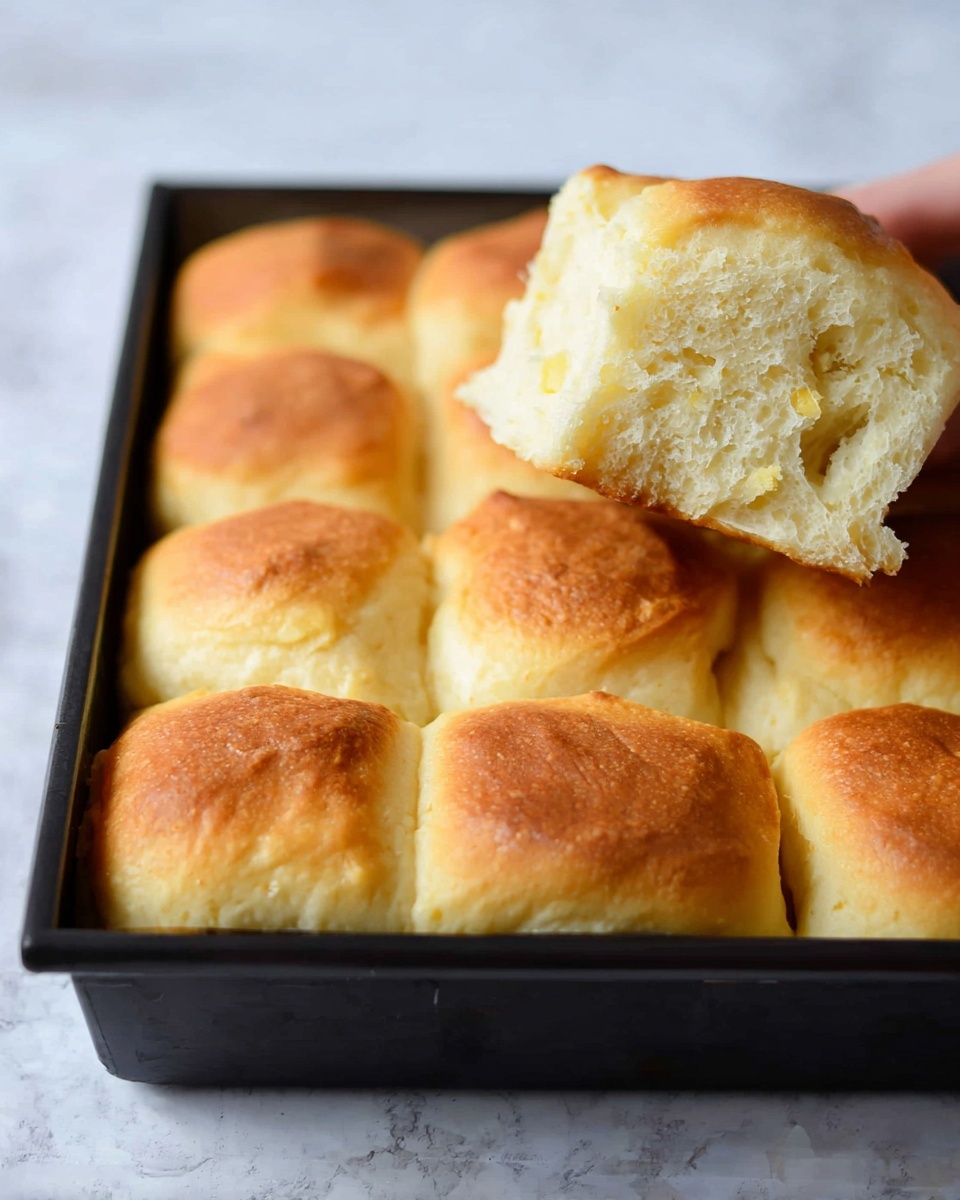
- Step 9: After baking, brush the rolls again with melted butter. Let them cool for at least 15 minutes before serving. These rolls are best enjoyed warm.
Tips & Variations
- Use a food thermometer to ensure the pineapple juice is the right temperature for activating yeast—too hot can kill the yeast, too cold will slow it down.
- For a dairy-free option, replace butter with a plant-based alternative for brushing.
- Add a teaspoon of dried herbs like rosemary or thyme to the dough for a savory twist.
- If the dough feels too sticky to handle, add a little more gluten free flour, but avoid adding too much to keep the rolls soft.
Storage
Store the cooled rolls in an airtight container at room temperature for up to 2 days. To keep them longer, freeze once cooled, then thaw at room temperature before reheating. Reheat gently in the oven or microwave with a damp towel to keep them soft and warm.
How to Serve
Serve this delicious recipe with your favorite sides.
FAQs
Can I use regular psyllium husk instead of whole?
Yes, you can use regular psyllium husk powder but reduce the amount by about half, as whole psyllium husk absorbs more liquid and helps with texture.
What happens if my yeast doesn’t froth?
If the yeast doesn’t froth, it may be inactive. Make sure your pineapple juice isn’t too hot or too cold, and that your yeast is fresh. Try with a new batch of yeast to ensure the rolls rise properly.
PrintGluten Free Hawaiian Rolls Recipe
These Gluten Free Hawaiian Rolls are soft, fluffy, and slightly sweet rolls made with pineapple juice for natural sweetness and moisture. Perfectly suited for those avoiding gluten, they feature a tender crumb thanks to psyllium husk and xanthan gum, which help replicate the texture of traditional bread. A delicious homemade alternative to store-bought rolls, they are ideal for sandwiches, sliders, or simply enjoyed warm with butter.
- Prep Time: 20 minutes
- Cook Time: 30 minutes
- Total Time: 1 hour 50 minutes
- Yield: 9 rolls 1x
- Category: Bread
- Method: Baking
- Cuisine: Hawaiian
- Diet: Gluten Free
Ingredients
Wet Ingredients
- 250 ml pineapple juice
- 2 tbsp caster sugar
- 150 ml warm water
- 5 tbsp vegetable oil
- 2 large eggs
- 1 tsp apple cider vinegar
- 20 g unsalted butter (melted, for brushing)
Dry Ingredients
- 7 g dried yeast
- 10 g whole psyllium husk
- 400 g FREEE gluten free white bread flour
- 1 tsp xanthan gum
- 1 tsp salt
Instructions
- Activate the yeast: Pour the pineapple juice into a bowl or jug and warm it to approximately 40°C (warm to the touch, not hot). Stir in the caster sugar, then add the dried yeast. Cover with a tea towel and leave in a warm spot for 5-10 minutes until the yeast froths, indicating activation.
- Prepare the psyllium husk gel: In a separate bowl, combine the whole psyllium husk with warm water. Stir and let it sit for a few minutes until it thickens into a gel-like consistency. This ingredient helps provide structure and moisture in gluten-free baking.
- Mix dry ingredients: In a large mixing bowl, whisk together the gluten free white bread flour, xanthan gum, and salt until evenly combined.
- Combine wet ingredients: In another small bowl or mug, lightly whisk the eggs, vegetable oil, and apple cider vinegar until blended.
- Form the dough: Once the yeast mixture is frothy and active, add it to the dry ingredients along with the egg-oil mixture and the psyllium husk gel. Using a wooden spoon, vigorously beat the mixture for 2-3 minutes until it forms a thick, sticky dough without lumps. For easier mixing, a stand mixer fitted with a dough hook can be used.
- Divide and shape the dough: Lightly dust your work surface with gluten free flour. Scrape the sticky dough onto the surface using an oiled dough scraper or spatula. Shape the dough into a rough ball, then divide it evenly into 9 portions. Lightly flour your hands and roll each portion into a smooth ball, adding minimal flour to prevent sticking.
- Arrange and proof the rolls: Lightly oil an 8-inch (20 cm) square cake tin. Place the dough balls in the tin in three rows of three, leaving a little space between each. Cover the tin loosely with oiled clingfilm and then with a tea towel. Leave in a warm, draft-free spot to rise for 40-60 minutes, until the rolls have doubled in size.
- Preheat oven and prepare for baking: Preheat your oven to 200°C (fan 180°C) or Gas Mark 6. Remove the clingfilm from the dough, then brush the tops of the rolls generously with melted butter.
- Bake the rolls: Place the tin in the preheated oven and bake the rolls for 25-30 minutes until they are golden brown on top and cooked through.
- Finish and cool: Remove the tray from the oven and immediately brush the rolls with additional melted butter to add shine and extra richness. Allow the rolls to cool for at least 15 minutes before serving for the best flavor and texture. They are best enjoyed warm.
Notes
- Use a food thermometer to ensure the pineapple juice is warmed to about 40°C to effectively activate the yeast without killing it.
- Psyllium husk acts as a binder in gluten-free baking, helping to improve dough elasticity and moisture retention.
- Minimal extra flour should be added when rolling out the dough balls to prevent drying out the rolls.
- These rolls are best served warm and can be stored in an airtight container for 2-3 days or frozen for longer storage.
- The pineapple juice adds natural sweetness and a subtle tropical flavor that complements the soft texture of the rolls.
Keywords: Gluten Free Hawaiian Rolls, Pineapple Rolls, Gluten Free Bread, Soft Rolls, Homemade Hawaiian Rolls