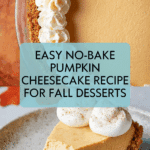
Easy No-Bake Pumpkin Cheesecake Recipe
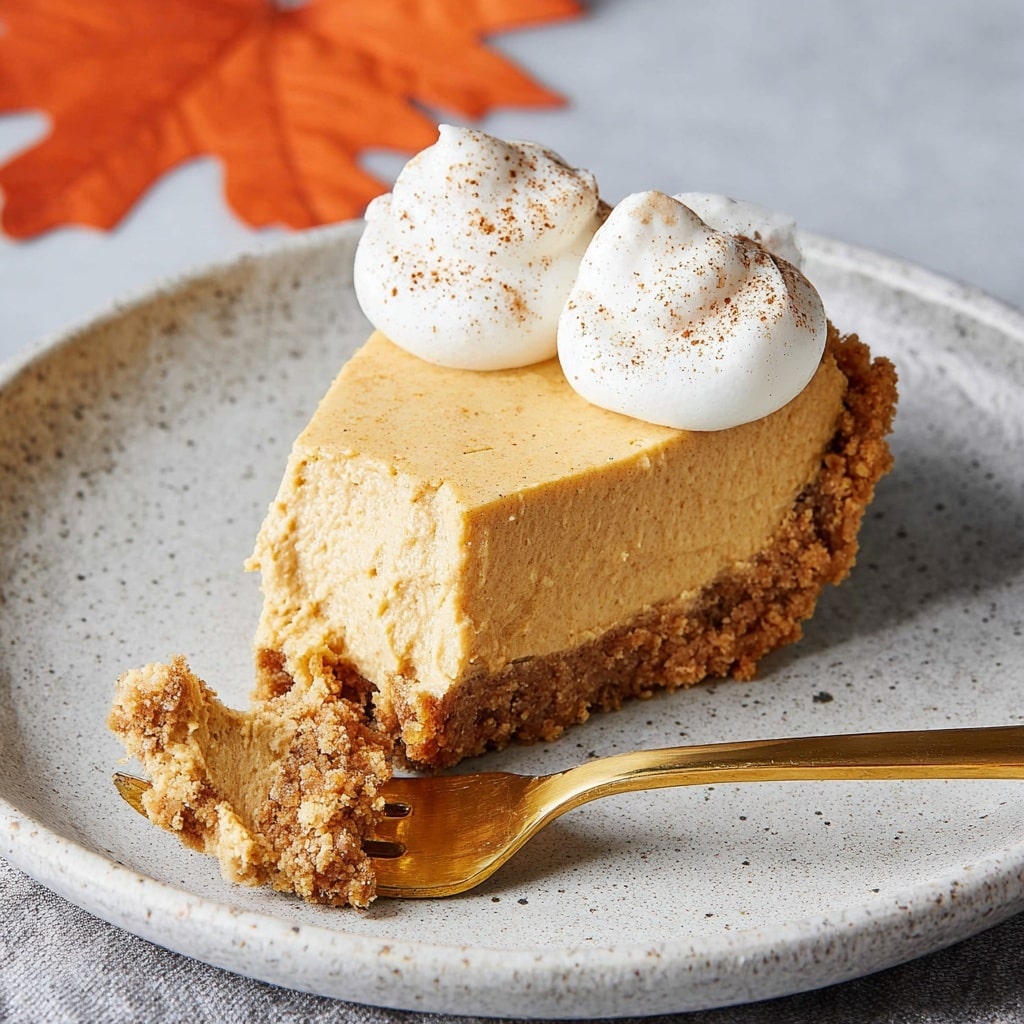
If you’re craving a dessert that captures the comforting flavors of fall without the fuss of baking, this Easy No-Bake Pumpkin Cheesecake is exactly what you need. Creamy, silky pumpkin filling combined with a crunchy graham cracker crust makes every bite feel like a cozy autumn hug. Whether you’re hosting Thanksgiving or just want a sweet treat on a chilly evening, this cheesecake is straightforward to make, delightfully rich, and ready to impress with minimal effort.

Ingredients You’ll Need
Assembling this Easy No-Bake Pumpkin Cheesecake is a breeze because the ingredients are simple, approachable, and each plays a crucial role—whether it’s adding richness, sweetness, or that irresistible pumpkin spice aroma that fills your kitchen with warmth.
- Graham cracker crust: You can buy one pre-made or prepare your own with finely crushed graham crackers, brown sugar, and melted butter for that perfect crunchy base.
- Cream cheese (8 oz, softened): This provides the luscious, creamy texture that is key to any cheesecake.
- Pumpkin puree (1 1/4 cups): The star of the show that brings in seasonal flavor and beautiful color.
- Powdered sugar (3/4 cup): Adds sweetness and helps keep the filling smooth and velvety.
- Pumpkin pie spice (1 tsp): A fragrant blend that elevates the pumpkin filling with warm spices.
- Vanilla extract (1 tsp): Enhances all the flavors and adds a delicate aromatic note.
- Cool Whip (2 1/2 cups, thawed): Whipped topping that lightens the texture and gives the cheesecake a fluffy finish.
How to Make Easy No-Bake Pumpkin Cheesecake
Step 1: Prepare the Crust
If you’re using a store-bought graham cracker crust, you can skip right to the filling—easy as that! For those who love a hands-on touch, mix finely crushed graham crackers with brown sugar and melted butter. Press this mixture firmly into a 9-inch pie dish, covering the bottom and sides evenly. Let it chill in the refrigerator for at least one hour. This step ensures your crust sets up nicely, providing a sturdy, buttery foundation for the luscious pumpkin filling.
Step 2: Make the Filling
In a mixing bowl, blend softened cream cheese, pumpkin puree, powdered sugar, pumpkin pie spice, and vanilla extract with an electric mixer on medium speed. Whip for 3 to 5 minutes until the mixture becomes light, airy, and fluffy—that’s the secret to a melt-in-your-mouth texture. Then, gently fold in the thawed Cool Whip, preserving all that delightful fluffiness without deflating your mixture. This filling is where the magic happens, combining tangy, sweet, and spicy notes perfectly.
Step 3: Assemble and Chill
Spoon your luscious pumpkin filling into the chilled crust, smoothing the top with a spatula for an even finish. Pop the cheesecake into the fridge and chill for at least 3 hours so it can fully set. For easier slicing and a firmer texture, freeze the cheesecake (covered) for about 30 minutes right before serving. This cheesecake practically makes itself—no oven required!
How to Serve Easy No-Bake Pumpkin Cheesecake
Garnishes
Transform your pumpkin cheesecake into a showstopper with simple garnishes. A dollop of whipped cream or a drizzle of maple syrup creates an elegant touch. For extra texture and flavor, sprinkle crushed pecans or a dusting of cinnamon on top. These little finishing touches will bring out the cozy spices and add visual appeal to your dessert plate.
Side Dishes
Pair your cheesecake with a warm beverage like spiced chai tea or a mild coffee to complement the pumpkin’s spices. Fresh fruit slices, such as crisp pears or tart cranberries, offer a bright contrast to the creamy richness of the cheesecake. Simple sides like these keep the focus on the star dessert while balancing the flavors.
Creative Ways to Present
For a stunning presentation, serve individual cheesecake cups layered with crushed graham crackers and pumpkin filling in clear glasses. You can also pipe the filling into mini tart shells for bite-sized treats perfect for parties. Whatever your style, the Easy No-Bake Pumpkin Cheesecake adapts beautifully, making entertaining effortless and fun.
Make Ahead and Storage
Storing Leftovers
Keep your leftover cheesecake covered tightly with plastic wrap or in an airtight container in the refrigerator. It will stay fresh and delicious for up to 4 days, giving you plenty of time to enjoy second (or third!) servings. Being no-bake, it maintains its creamy texture beautifully without drying out.
Freezing
If you want to save some for later, this cheesecake freezes well. Wrap it tightly in plastic wrap and then in aluminum foil before placing it in the freezer to prevent freezer burn. When properly stored, it will keep its flavor and texture for up to 1 month. Just thaw overnight in the fridge before serving.
Reheating
This dessert is best served chilled or at room temperature, so reheating isn’t necessary. If you prefer it a bit softer, let it sit out for 15-20 minutes before slicing. Try to avoid microwaving as it might alter the texture of the cream cheese and whipped topping.
FAQs
Can I use fresh pumpkin instead of canned pumpkin puree?
Fresh pumpkin can work, but be sure to cook and puree it thoroughly beforehand. Canned pumpkin puree is convenient and has a consistent texture that helps keep the cheesecake silky smooth.
Is it possible to make this cheesecake dairy-free?
Yes! Substitute cream cheese and Cool Whip with dairy-free alternatives, such as vegan cream cheese and coconut whipped topping. This way, you can enjoy the dessert without compromising on texture or flavor.
How long does this cheesecake need to chill before serving?
You should refrigerate it for at least 3 hours to let the filling set properly. If you’re pressed for time, freezing it for 30 minutes before serving will help firm it up for easier slicing.
Can I add extra spices to the filling?
Absolutely! Feel free to adjust the pumpkin pie spice or add cinnamon, nutmeg, or cloves to suit your taste buds. Just remember to start with small amounts—you can always add more but can’t take it away once mixed.
What’s the best way to slice this cheesecake?
Use a sharp knife dipped in hot water and wiped dry before cutting. This helps achieve smooth, clean slices without the filling sticking to the blade.
Final Thoughts
Seriously, if you want a dessert that’s fuss-free yet packed with cozy pumpkin flavor, you’ve got to try this Easy No-Bake Pumpkin Cheesecake. It’s one of those recipes that feels like a warm hug and brings smiles with every bite. Whether it’s a weeknight treat or your go-to holiday showstopper, make this cheesecake your next kitchen triumph—you won’t regret it!
PrintEasy No-Bake Pumpkin Cheesecake Recipe

This Easy No-Bake Pumpkin Cheesecake is a creamy and delicious dessert perfect for fall or any time you crave a smooth pumpkin-flavored treat. Featuring a buttery graham cracker crust and a light pumpkin-spiced cream cheese filling folded with Cool Whip, this cheesecake requires no oven time and can be prepared quickly with simple ingredients.
- Prep Time: 15 minutes
- Cook Time: 0 minutes
- Total Time: 4 hours 15 minutes
- Yield: 8 servings 1x
- Category: Dessert
- Method: No-Bake
- Cuisine: American
- Diet: Vegetarian
Ingredients
Crust Ingredients
- 1 store-bought 9″ graham cracker crust OR
- 1 1/2 cups graham cracker crumbs (finely crushed; about 12 full graham cracker sheets)
- 1/4 cup brown sugar
- 6 tbsp butter (melted)
Filling Ingredients
- 8 oz cream cheese (softened)
- 1 1/4 cups pumpkin puree
- 3/4 cup powdered sugar
- 1 tsp pumpkin pie spice (or more to taste; or you can add cinnamon to taste as well)
- 1 tsp vanilla extract
- 2 1/2 cups Cool Whip (thawed; an 8oz tub has about 3 cups)
Instructions
- Prepare the Crust: If using a store-bought crust, place it in your pie dish and proceed to the filling. To make your own, combine graham cracker crumbs and brown sugar in a mixing bowl. Add melted butter and stir until the mixture is evenly combined and resembles wet sand. Press this mixture firmly and evenly into the bottom and up the sides of a 9-inch pie dish, using a measuring cup or the back of a spoon to pack it tightly for a solid crust. Chill in the refrigerator for at least 1 hour to set.
- Make the Filling: In a large bowl, add softened cream cheese, pumpkin puree, powdered sugar, pumpkin pie spice, and vanilla extract. Use an electric mixer on medium speed to beat the ingredients together for 3 to 5 minutes until the mixture becomes light and fluffy, ensuring all spices and sugar are fully incorporated.
- Fold in Cool Whip: Gently fold the thawed Cool Whip into the pumpkin mixture with a spatula, taking care to maintain as much air in the mixture as possible for a light texture.
- Assemble and Chill: Spoon the filling evenly into the chilled crust and smooth the top. Refrigerate the cheesecake for at least 3 hours to allow it to firm up. For easier slicing, you can freeze it covered for 30 minutes before cutting and serving.
- Serving and Garnishing: If desired, garnish your pumpkin cheesecake with additional whipped cream or a cream cheese frosting to enhance flavor and presentation before serving.
Notes
- You can use a pre-made graham cracker crust to save preparation time.
- Adjust pumpkin pie spice according to your preferred spice level.
- Allow the cheesecake to chill fully to ensure it sets properly before slicing.
- Freezing for 30 minutes before serving helps achieve clean and easy cuts.
- Store leftover cheesecake covered in the refrigerator for up to 3 days.
Nutrition
- Serving Size: 1 slice (1/8 of cheesecake)
- Calories: 310 kcal
- Sugar: 19 g
- Sodium: 190 mg
- Fat: 22 g
- Saturated Fat: 13 g
- Unsaturated Fat: 7 g
- Trans Fat: 0.5 g
- Carbohydrates: 24 g
- Fiber: 2 g
- Protein: 4 g
- Cholesterol: 55 mg
Keywords: no-bake pumpkin cheesecake, pumpkin dessert, easy pumpkin cheesecake, fall desserts, graham cracker crust cheesecake