Soft Homemade Peanut Butter Oreo Cookies Recipe
Introduction
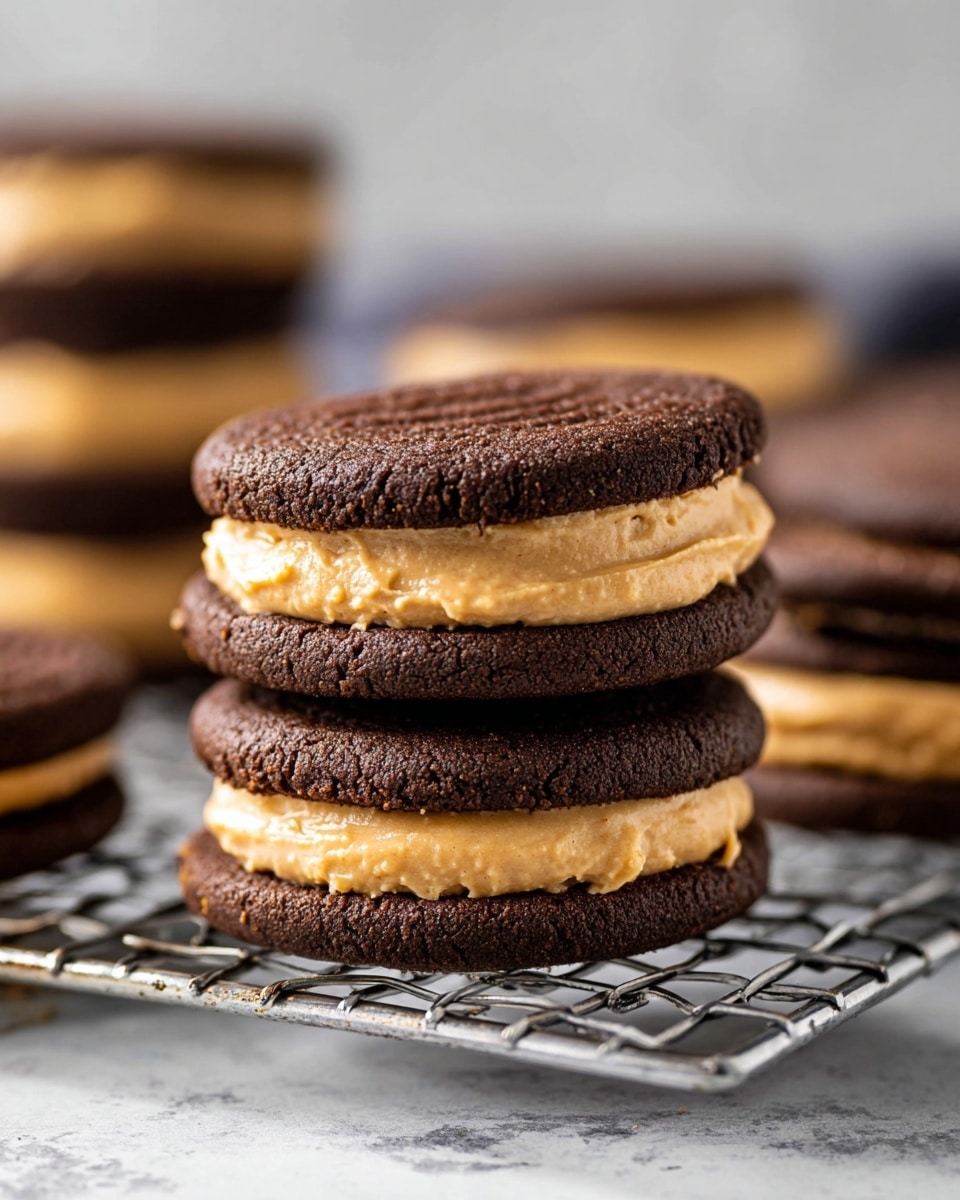
Soft Homemade Peanut Butter Oreos are a delightful twist on the classic treat, featuring soft cocoa cookies sandwiched with a rich peanut butter filling. This easy-to-make recipe brings comfort and nostalgia together in every bite, perfect for any occasion.
Ingredients
- 1 ¼ cups (155g) all-purpose flour
- ¼ teaspoon salt
- ½ teaspoon baking soda
- ⅓ cup (17g) Hershey’s Special Dark unsweetened cocoa powder
- ½ cup (113g) unsalted butter
- ⅔ cup (134g) packed brown sugar
- ¼ cup (50g) granulated sugar
- 1 large egg
- 1 teaspoon vanilla extract
- ¼ cup (57g) unsalted butter (for filling)
- ½ cup (134g) peanut butter
- ¼ teaspoon salt (for filling)
- 1½ cups (170g) powdered sugar
- ½ teaspoon vanilla extract (for filling)
- 1-3 tablespoons heavy whipping cream
Instructions
- Step 1: Preheat the oven to 350°F (175°C). Line cookie sheets with parchment paper or silicone baking mats for easy cleanup.
- Step 2: In a medium bowl, whisk together the flour, salt, baking soda, and cocoa powder. Set this mixture aside.
- Step 3: Using an electric mixer fitted with the paddle attachment or a hand mixer, cream the butter, brown sugar, and granulated sugar together until smooth. Scrape down the sides as needed. Add the egg and vanilla extract, mixing until well combined.
- Step 4: Gradually mix in the dry ingredients until the dough is smooth but sticky. Scoop 1- or 2-tablespoon-sized balls of dough onto the prepared cookie sheets.
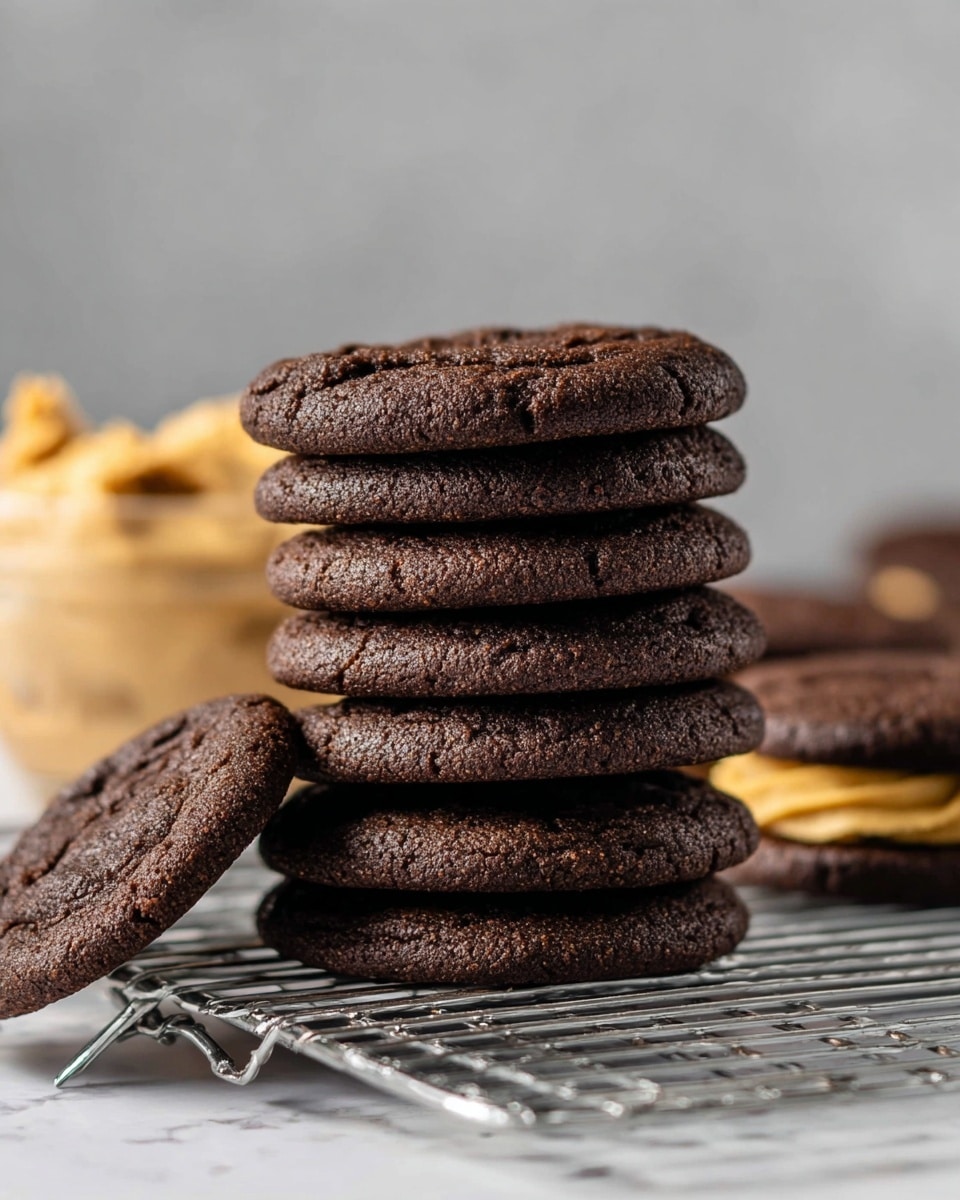
- Step 5: Bake smaller cookies for 8-11 minutes or larger ones for 12-15 minutes, just until they lose their glossy sheen. Let the cookies cool completely on the sheets before removing.
- Step 6: To make the filling, beat the butter, peanut butter, and salt together in a large bowl until smooth. Slowly add the powdered sugar, mixing until thick and smooth.
- Step 7: Stir in the vanilla extract and 1 tablespoon of heavy whipping cream. Beat for 30 seconds, then add more cream as needed (up to 1 additional tablespoon) to achieve a spreadable but not runny consistency.
- Step 8: Pipe or spread the filling onto half of the cooled cookies, then sandwich with the remaining cookies.
Tips & Variations
- Use natural peanut butter for a more intense flavor or creamy peanut butter for a smoother filling.
- For extra softness, slightly underbake the cookies and cool them fully before sandwiching.
- Add a pinch of cinnamon or espresso powder to the dough to deepen the chocolate flavor.
- Substitute heavy whipping cream with milk if you prefer a lighter filling consistency.
Storage
Store the assembled sandwiches in an airtight container at room temperature for up to 3 days. For longer storage, freeze them for up to one month. If frozen, thaw at room temperature before serving. No reheating is necessary, as these cookies are best enjoyed soft and fresh.
How to Serve
Serve this delicious recipe with your favorite sides.
FAQs
Can I make the cookies vegan?
Yes, you can substitute the butter with a vegan butter alternative and use a flax egg or another egg substitute to make the cookies vegan-friendly. Ensure your peanut butter and sugars are also vegan.
Can I use crunchy peanut butter instead of smooth?
Absolutely. Using crunchy peanut butter will add texture to the filling, making the Oreos a bit more interesting with small peanut pieces.
PrintSoft Homemade Peanut Butter Oreo Cookies Recipe

Soft Homemade Peanut Butter Oreos are a delightful twist on the classic Oreo cookie, featuring soft chocolate cookies sandwiched with a creamy, peanut butter-infused filling. These homemade treats combine rich cocoa flavor in the cookie with a smooth, slightly sweet peanut butter cream, perfect for dessert or a special snack.
- Prep Time: 15 minutes
- Cook Time: 12 minutes
- Total Time: 27 minutes
- Yield: About 20–24 sandwich cookies 1x
- Category: Dessert
- Method: Baking
- Cuisine: American
Ingredients
For the Cookies
- 1 ¼ cups (155g) all-purpose flour
- ¼ teaspoon salt
- ½ teaspoon baking soda
- ⅓ cup (17g) Hershey’s Special Dark unsweetened cocoa powder
- ½ cup (113g) unsalted butter
- ⅔ cup (134g) packed brown sugar
- ¼ cup (50g) granulated sugar
- 1 large egg
- 1 teaspoon vanilla extract
For the Peanut Butter Filling
- ¼ cup (57g) unsalted butter
- ½ cup (134g) peanut butter
- ¼ teaspoon salt
- 1½ cups (170g) powdered sugar
- ½ teaspoon vanilla extract
- 1–3 tablespoons heavy whipping cream
Instructions
- Preheat Oven: Preheat your oven to 350°F (175°C). Line cookie sheets with parchment paper or silicone baking mats to prevent sticking and ensure even baking.
- Mix Dry Ingredients: In a medium-sized bowl, whisk together the all-purpose flour, salt, baking soda, and unsweetened cocoa powder. Set this mixture aside for later use.
- Cream Butter and Sugars: Using an electric mixer fitted with the paddle attachment or a hand mixer, cream together the unsalted butter, packed brown sugar, and granulated sugar until smooth. Be sure to scrape down the sides of the bowl often for even mixing.
- Add Egg and Vanilla: Mix in the large egg and vanilla extract until fully incorporated.
- Combine Wet and Dry Ingredients: Slowly add the dry ingredients to the wet mixture, mixing until a sticky dough forms.
- Shape and Bake Cookies: Scoop 1- or 2-tablespoon-sized balls of dough onto the prepared cookie sheets. Bake the cookies for 8-11 minutes if making small cookies, or 12-15 minutes for larger ones. Bake until the cookies are no longer glossy on top. Allow them to cool completely on the cookie sheets before removing.
- Prepare the Filling: In a large bowl, beat together the unsalted butter, salt, and peanut butter with a hand mixer until smooth, about one minute.
- Add Powdered Sugar and Cream: Gradually add the powdered sugar, mixing until thick and smooth. Incorporate the vanilla extract and start with 1 tablespoon of heavy whipping cream, beating for 30 seconds. Add more cream, up to 1 additional tablespoon, if needed to achieve a spreadable but not runny consistency. Typically, 2 tablespoons are used.
- Assemble the Oreos: Pipe or spread the peanut butter filling onto the flat side of half the cookies, then sandwich with the remaining cookies to form the classic Oreo style.
- Store the Cookies: Place the finished cookies in an airtight container. They can be stored at room temperature for up to 3 days or frozen for up to one month for longer preservation.
Notes
- Be careful not to overbake the cookies; they should be soft and slightly chewy.
- Use good quality peanut butter for the best flavor in the filling.
- Adjust the heavy cream quantity based on desired filling consistency.
- Cookies can be stored in an airtight container at room temperature or frozen for longer storage.
- For easier sandwich assembly, chill the cookies and filling slightly before assembling.
Keywords: peanut butter oreos, homemade oreos, soft chocolate cookies, peanut butter filling, easy dessert, sandwich cookies