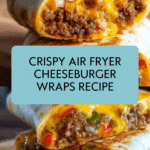
Air Fryer Cheeseburger Wraps Recipe
Introduction
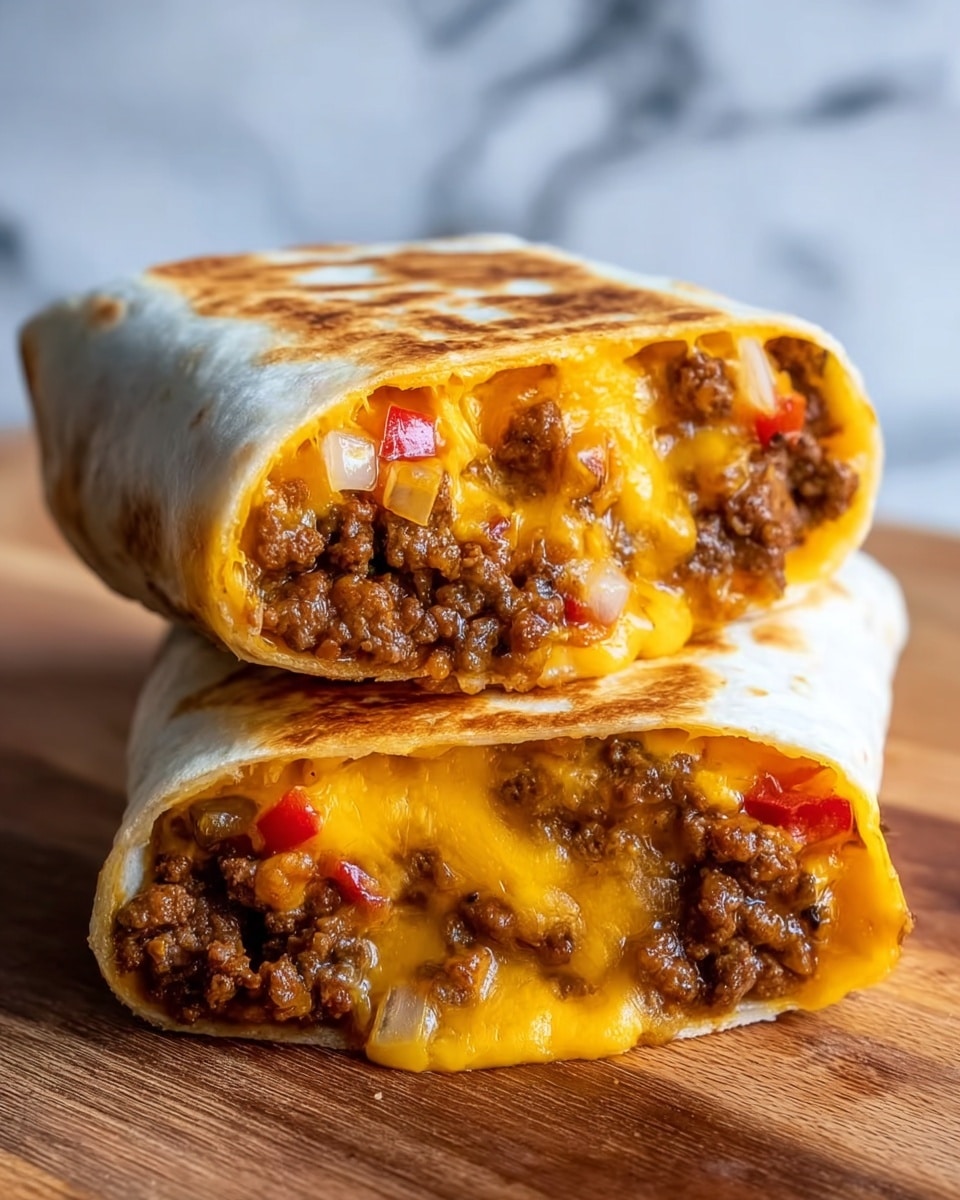
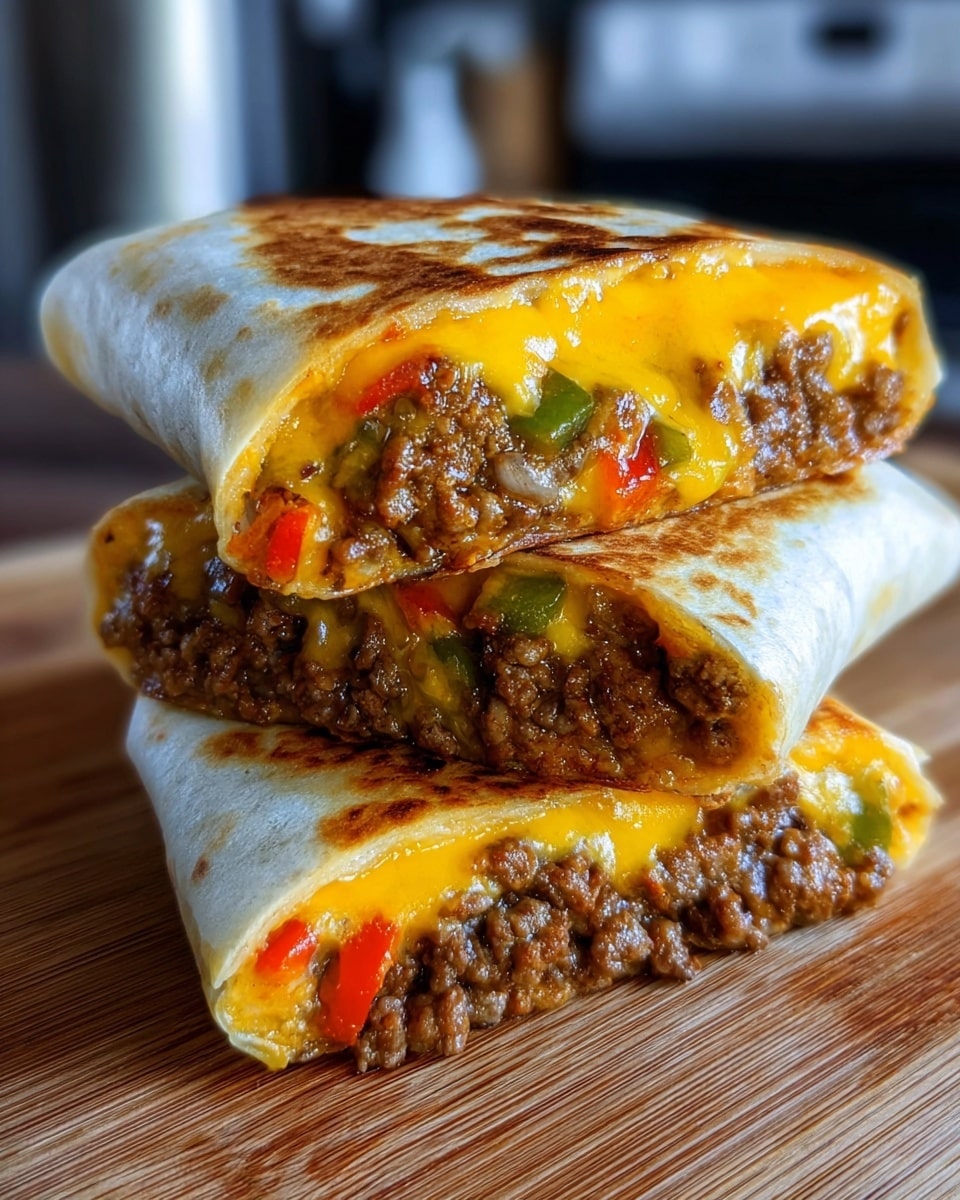
Air Fryer Cheeseburger Wraps are a quick and delicious twist on a classic favorite. These wraps combine seasoned ground beef, melty cheddar cheese, and tangy condiments all wrapped in a crispy tortilla. Perfect for a simple weeknight dinner or a satisfying snack.
Ingredients
- 1 lb ground beef
- 1/2 cup shredded cheddar cheese
- 4 large flour tortillas
- 1/4 cup diced onions
- 1/4 cup diced pickles
- 1/4 cup ketchup
- 1 tablespoon mustard
- Salt and pepper to taste
Instructions
- Step 1: Preheat your air fryer to 375°F (190°C).
- Step 2: In a skillet, cook the ground beef over medium heat until browned. Drain excess fat.
- Step 3: Mix in diced onions, pickles, ketchup, mustard, salt, and pepper with the cooked beef.
- Step 4: Lay a tortilla flat and place a portion of the beef mixture in the center. Sprinkle with shredded cheddar cheese.
- Step 5: Fold in the sides of the tortilla and roll it up tightly to enclose the filling.
- Step 6: Place the wrap seam side down in the air fryer basket.
- Step 7: Cook for 8-10 minutes or until the tortilla is golden brown and crispy.
- Step 8: Remove from the air fryer and let cool for a minute before slicing in half and serving.
Tips & Variations
- Use pepper jack or mozzarella cheese for a different flavor twist.
- Add a few slices of cooked bacon inside the wrap for extra crunch and smokiness.
- Serve with a side of ranch or barbecue sauce for dipping.
- For a lighter option, use whole wheat or low-carb tortillas.
Storage
Store any leftover wraps in an airtight container in the refrigerator for up to 2 days. Reheat in the air fryer for a few minutes to regain crispiness or microwave briefly, though this may soften the tortilla.
How to Serve
Serve this delicious recipe with your favorite sides.
FAQs
Can I prepare the beef filling ahead of time?
Yes, you can cook the beef mixture a day in advance and refrigerate it. Assemble and air fry the wraps just before serving for best texture.
What can I use instead of pickles?
If you don’t have pickles on hand, try substituting with diced jalapeños for a spicy kick or chopped olives for a briny flavor.
PrintAir Fryer Cheeseburger Wraps Recipe

These Air Fryer Cheeseburger Wraps combine the delicious flavors of a classic cheeseburger with the convenience and crispiness of air frying. Ground beef is cooked with savory additions like onions, pickles, ketchup, and mustard, then wrapped in warm flour tortillas with melted cheddar cheese and air fried to golden perfection. Perfect as a quick lunch or dinner, these wraps offer a satisfying handheld meal with the indulgence of a cheeseburger.
- Prep Time: 10 minutes
- Cook Time: 15 minutes
- Total Time: 25 minutes
- Yield: 4 wraps 1x
- Category: Lunch
- Method: Air Frying
- Cuisine: American
Ingredients
Meat & Cheese
- 1 lb ground beef
- 1/2 cup shredded cheddar cheese
Wraps & Vegetables
- 4 large flour tortillas
- 1/4 cup diced onions
- 1/4 cup diced pickles
Condiments & Seasoning
- 1/4 cup ketchup
- 1 tablespoon mustard
- Salt and pepper to taste
Instructions
- Preheat Air Fryer: Preheat your air fryer to 375°F (190°C) to ensure it reaches the ideal temperature for crisping the wraps evenly.
- Cook Ground Beef: In a skillet over medium heat, cook the ground beef until it is fully browned. Once cooked, drain any excess fat to make the mixture less greasy.
- Mix Ingredients: Add the diced onions, pickles, ketchup, mustard, salt, and pepper to the cooked beef. Stir well to combine all the flavors evenly.
- Assemble Wraps: Lay each flour tortilla flat on a clean surface. Spoon an even portion of the beef mixture into the center of each tortilla, then sprinkle shredded cheddar cheese on top.
- Roll Wraps: Fold the sides of the tortilla inward, then roll tightly from one end to the other to create secure wraps.
- Prepare for Air Frying: Place the wraps seam side down in the air fryer basket to prevent them from unrolling during cooking.
- Air Fry: Cook the wraps in the preheated air fryer for 8-10 minutes until the tortillas are golden brown and crispy, and the cheese has melted inside.
- Cool and Serve: Remove the wraps carefully from the air fryer. Allow them to cool for about a minute, then slice each wrap in half for easier eating.
Notes
- Use medium to large flour tortillas for easy rolling and sufficient filling.
- Adjust seasoning to taste, adding more salt or pepper if desired.
- For extra crispiness, spray the air fryer basket lightly with cooking spray before placing the wraps.
- You can customize the fillings by adding lettuce or tomato after cooking if desired.
- These wraps are best enjoyed immediately to retain their crispy texture.
Keywords: air fryer, cheeseburger wraps, ground beef wraps, quick lunch, easy air fryer recipes, crispy wraps, cheesy wraps