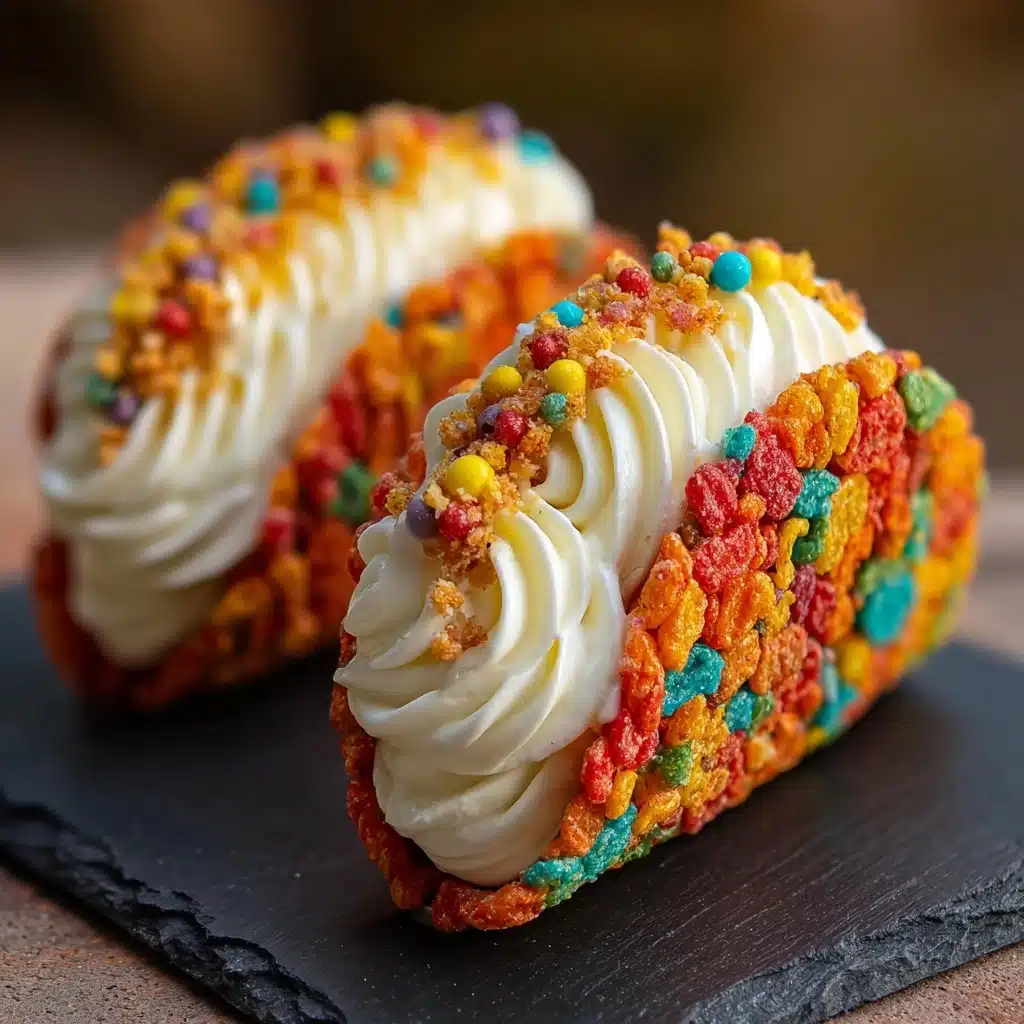
Fruity Pebbles Cheesecake Tacos Recipe
If you have a sweet tooth that loves a bit of fun and nostalgia, Fruity Pebbles Cheesecake Tacos are going to be your new obsession. These playful treats combine the vibrant colors and crispy texture of fruity cereal with ultra-creamy cheesecake filling, all cleverly tucked inside taco-shaped shells that make every bite a delightful surprise. They are as eye-catching as they are delicious—a perfect blend of whimsy and indulgence that feels like a party in each taco. Whether you’re dreaming up a unique dessert for a gathering or simply craving something sweet and colorful, Fruity Pebbles Cheesecake Tacos bring together childhood memories and gourmet flair in the most irresistible way.
Ingredients You’ll Need
Ingredients You’ll Need
Getting the perfect Fruity Pebbles Cheesecake Tacos starts with a handful of simple, yet thoughtfully chosen ingredients. Each one plays a crucial role, from the buttery base that holds the taco shape to the fluffy cream cheese filling that balances the sweet cereal crunch.
- 3 cups Fruity Pebbles cereal: The colorful and crispy star of the show, providing not just flavor but fun texture.
- 1/2 cup unsalted butter, melted: Adds richness and helps bind the cereal into sturdy taco shells.
- 8 oz cream cheese, softened: Creates the creamy, tangy base for the luscious cheesecake filling.
- 1/2 cup powdered sugar, sifted: Sweetens the filling gently without any graininess.
- 1 tsp pure vanilla extract: Brings warmth and depth to the cheesecake mixture.
- 1 cup whipped cream: Folded in for lightness and airy texture inside the tacos.
- Additional Fruity Pebbles cereal: For garnish and an extra pop of crunch and color on top.
How to Make Fruity Pebbles Cheesecake Tacos
Step 1: Prepare the Crunchy Shell
Start by mixing the Fruity Pebbles cereal with melted butter in a bowl. Stir until every piece is fully coated with butter, which will help the cereal stick together and hold its shape when formed.
Step 2: Shape Your Shells
Press the buttery cereal mixture firmly into small taco-shaped molds or muffin tins. This shaping step is essential to ensure your shells have the perfect crispy taco form. Once formed, pop them into the refrigerator to chill and set for at least 30 minutes. This chilling makes them firm and ready to hold the cheesecake filling.
Step 3: Whisk Up the Cheesecake Filling
While the shells are chilling, take the softened cream cheese and beat it with a hand mixer until smooth and fluffy. Gradually add in the powdered sugar and vanilla extract, continuing to blend until everything is creamy and combined.
Step 4: Add Airiness
To keep the filling light and dreamy, gently fold the whipped cream into the cream cheese mixture using a spatula. This step is crucial—you want to keep the airy texture intact rather than overmixing and deflating it.
Step 5: Assemble the Tacos
Once your cereal taco shells are firm, spoon the cheesecake filling generously into each shell. Make sure to fill it so every bite bursts with that creamy sweetness balanced by the crunchy exterior.
Step 6: Garnish and Serve
Top each filled taco with a sprinkle of extra Fruity Pebbles cereal for a final flourish of color and texture. You can serve these immediately for a softer shell or chill a bit longer if you prefer a firmer bite.
How to Serve Fruity Pebbles Cheesecake Tacos
Garnishes
The garnish is your chance to add a little extra pop. Use more Fruity Pebbles to emphasize the vibrant colors or add a drizzle of white chocolate for extra decadence. A tiny mint leaf can also add a refreshing touch, balancing the sweetness beautifully.
Side Dishes
These tacos shine best as a sweet finish, but pairing them with a scoop of vanilla ice cream or a fresh fruit salad can turn your dessert plate into a delightful rainbow of flavors and textures. A lightly brewed iced tea or sparkling lemonade complements their sweetness without overpowering.
Creative Ways to Present
Want to wow your friends? Serve Fruity Pebbles Cheesecake Tacos in mini taco holders or on a platter lined with paper colorful enough to match the cereal itself. For an interactive twist, set up a taco bar with various toppings like chopped berries, sprinkles, or chocolate chips so everyone can customize their own taco creation.
Make Ahead and Storage
Storing Leftovers
If you happen to have leftovers, keep them in an airtight container in the refrigerator. Because the shells hold their crunch fairly well, the tacos should stay delicious for up to 2 days.
Freezing
Freezing Fruity Pebbles Cheesecake Tacos is not recommended as the cereal shells tend to lose their crispness and the texture of the filling can change. It’s best to enjoy them fresh or within a couple of days refrigerated.
Reheating
These tacos are best enjoyed cold or at room temperature. Reheating will cause the cereal shells to become soggy, so it’s a treat you want to serve right away or after a short chill in the fridge.
FAQs
Can I use a different cereal instead of Fruity Pebbles?
Absolutely! While Fruity Pebbles give these tacos their signature colorful crunch, you can swap in other fruity or sweet cereals like Trix or Fruity Cheerios. Just keep in mind that the texture and flavor might change a bit.
Is this recipe gluten-free?
Check the packaging of your Fruity Pebbles cereal to be sure, as formulations can vary by region. The other ingredients are naturally gluten-free, so this recipe can be gluten-free if the cereal is certified as such.
Can I make the cheesecake filling dairy-free?
Yes! Use a dairy-free cream cheese alternative and coconut whipped cream to create a delicious vegan and dairy-free version. The texture might vary slightly but still tastes wonderful.
What if I don’t have taco-shaped molds?
No worries! Muffin tins or even small ramekins can work just fine. You just need to press the cereal mixture firmly into the shape you want and chill them well to hold together.
Can I prepare the shells and filling in advance?
You can definitely prepare the shells and filling a few hours before assembling the final tacos. Just keep them refrigerated separately and assemble just before serving to keep everything fresh and crispy.
Final Thoughts
Fruity Pebbles Cheesecake Tacos are a delightful mix of fun, color, and creamy indulgence that brings smiles with every bite. They’re a perfect dessert for celebrations or a sweet treat to brighten your day. I promise once you try these, they’ll quickly become one of your favorite creative desserts to share with friends and family.
PrintFruity Pebbles Cheesecake Tacos Recipe

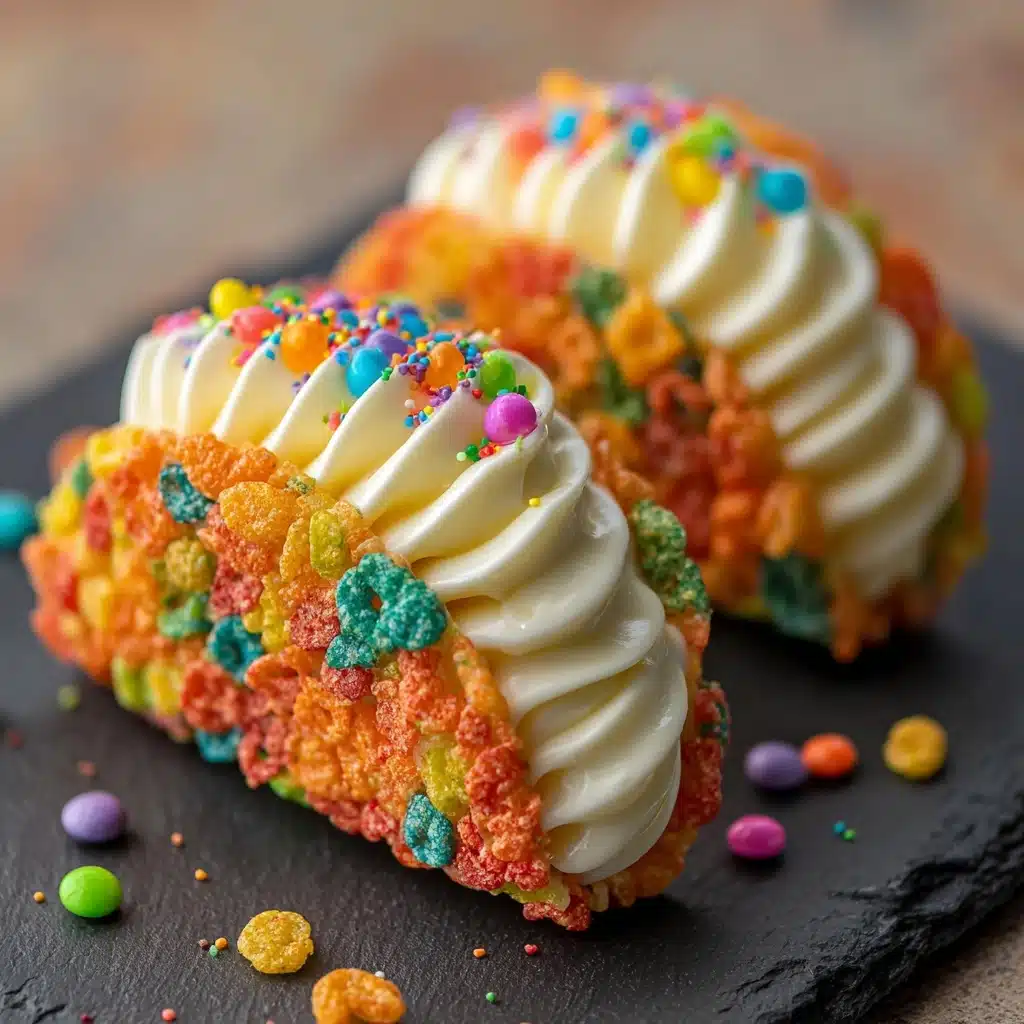
A fun and colorful dessert, Fruity Pebbles Cheesecake Tacos feature crispy fruity cereal shells filled with a light, creamy cheesecake filling, perfect for a playful treat that combines texture and flavor in every bite.
- Prep Time: 15 minutes
- Cook Time: 0 minutes
- Total Time: 45 minutes
- Yield: 6 cheesecake tacos 1x
- Category: Dessert
- Method: No Bake, Refrigeration
- Cuisine: American
- Diet: Vegetarian
Ingredients
Crunchy Shell
- 3 cups Fruity Pebbles cereal
- 1/2 cup unsalted butter, melted
Cheesecake Filling
- 8 oz cream cheese, softened to room temperature
- 1/2 cup powdered sugar, sifted
- 1 tsp pure vanilla extract
- 1 cup whipped cream
Garnish
- Additional Fruity Pebbles cereal for topping
Instructions
- Prepare the Crunchy Shell: Combine the fruity cereal and melted butter in a mixing bowl. Stir thoroughly until every piece is evenly coated to ensure the cereal binds well for shaping.
- Shape Your Shells: Press the cereal mixture firmly into small taco-shaped molds or muffin tins. Compact the mixture tightly to form sturdy shells and refrigerate for at least 30 minutes to set.
- Whisk Up the Cheesecake Filling: Using a hand mixer, beat the softened cream cheese until light and fluffy. Gradually add powdered sugar and vanilla extract, blending until the mixture is completely smooth and creamy.
- Add Airiness: Gently fold the whipped cream into the cream cheese mixture using a spatula to preserve the light, airy texture without deflating the filling.
- Assemble the Tacos: Once the cereal shells are firm, spoon the cheesecake filling generously into each shell, filling them carefully to avoid cracking.
- Garnish and Serve: Sprinkle additional fruity cereal over the filled shells for extra crunch and color. Serve immediately for a crunchy texture or chill to let the filling set firmer.
Notes
- For sturdier shells, use taco molds and press the cereal mixture firmly for better shape retention.
- Ensure cream cheese is softened to avoid lumps in the filling.
- Fold whipped cream gently to keep the filling fluffy.
- Serve immediately for best crunch; chilling thickens the filling but softens the shells slightly.
- Store any leftovers in an airtight container in the refrigerator for up to 2 days.
Nutrition
- Serving Size: 1 taco
- Calories: 280 kcal
- Sugar: 18 g
- Sodium: 160 mg
- Fat: 18 g
- Saturated Fat: 10 g
- Unsaturated Fat: 6 g
- Trans Fat: 0 g
- Carbohydrates: 24 g
- Fiber: 1 g
- Protein: 4 g
- Cholesterol: 45 mg
Keywords: Fruity Pebbles cheesecake, no bake dessert, crunchy dessert shell, cheesecake tacos, fruity cereal dessert